
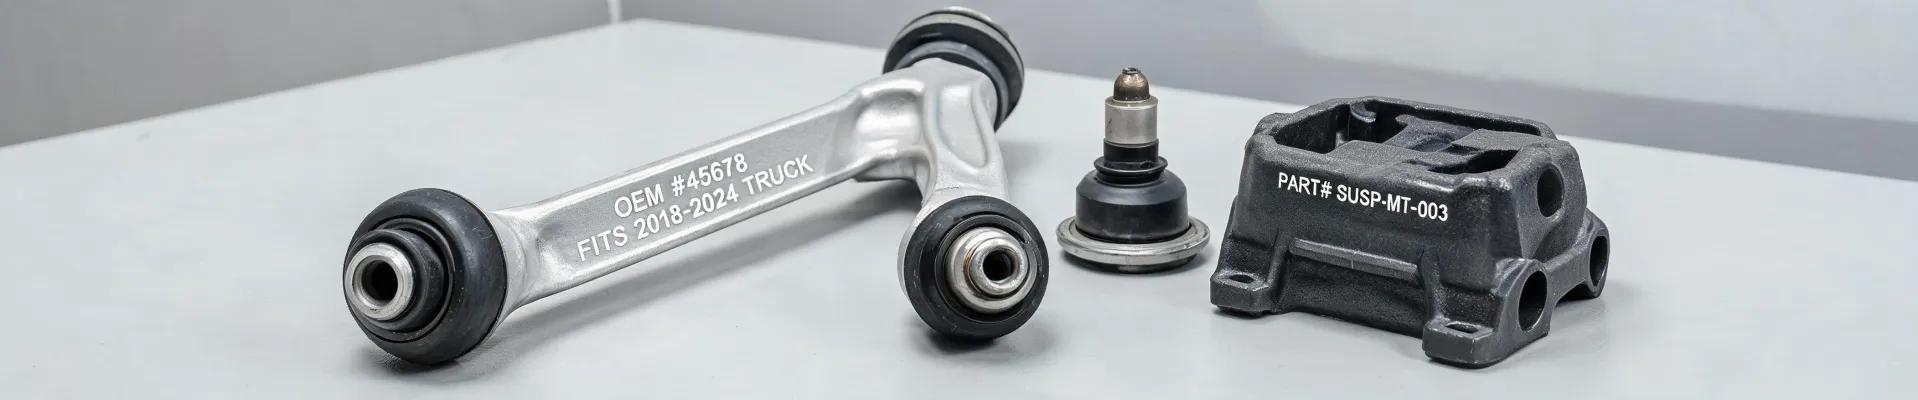
I've been managing the parts procurement budget for a mid-sized automotive supplier for about six years now. We spend roughly $180,000 annually on stamped parts, CNC machined components, and forgings. Over that time, I've negotiated with maybe 25 different vendors and tracked every single invoice in our cost system.
Here's what I've learned: the unit price on a quote is almost never the real price. If you're sourcing automotive metal parts—stamping dies, progressive die stampings, aluminum extrusions, or forged components—you need a checklist. This one has 4 steps. Skip any of them, and you'll probably end up paying more than you budgeted.
Who This Checklist Is For
This is for procurement folks or engineers at OEMs or Tier 1 suppliers who are evaluating new vendors for metal parts. If you're getting quotes for a new project and need to compare apples to apples (not apples to hidden fees), this will help.
Step 1: Ask 'What's NOT Included?' Before You Ask the Price
Seriously. Do this first. I still kick myself for not doing it in my first year.
In 2023, I was comparing quotes for a new progressive die stamping project. Vendor A quoted $0.85 per part. Vendor B quoted $0.72 per part. I almost went with B. But I had a sinking feeling and asked both: "What's NOT included in that unit price?"
Vendor A's quote included everything: tooling amortization over the first production run, material sourcing, and standard packaging. Vendor B's $0.72? It didn't include:
- Die try-out charges ($1,800 flat fee)
- Material sourcing markup (5% on top of raw material cost)
- Packaging for shipment (quoted separately at $0.15 per part)
When I calculated the true cost per part from Vendor B including those add-ons, it came to $0.91—higher than Vendor A's all-in price of $0.85. Looking back, I should have asked this question upfront. At the time, I was so focused on the unit price that I missed the fine print.
Step 2: Get the Tooling Cost Math on Paper
For automotive stamping and forging, tooling is where the money hides. A progressive die for a complex part can cost $25,000 to $80,000 depending on part geometry and volume. But the key question isn't just "How much is the die?" It's "How is the die cost applied to each part?"
Some vendors bury tooling costs in the unit price—which means you're paying for the die over the life of the contract. Others quote the die separately as a one-time charge. Neither approach is wrong, but you have to compare them on a Total Cost of Ownership (TCO) basis.
I've seen vendors who quote a low unit price because they're assuming the die will be paid off over 500,000 parts. But if your actual volume is 100,000 parts? The tooling cost per part is way higher than you budgeted.
Here's my rule: ask for the tooling cost as a separate line item, and ask what volume assumption the unit price is based on. Then use your estimated volume to calculate the effective per-part cost including tooling.
Hidden Fee to Watch For: Die Maintenance
Dies need sharpening and maintenance. Some vendors include this in their standard production cost. Others charge it separately. In Q2 2024, I compared two vendors for a forging project. Vendor 1 included quarterly die maintenance in their unit price. Vendor 2 charged it as a $600-per-maintenance-event add-on. Over a 2-year contract with 4 events per year, that's $4,800 not in the quoted price.
Step 3: Check Their 'Standard' Material Grade and Thickness
You'd be surprised how often a "standard" material assumption doesn't match your spec. A vendor might quote based on a common steel grade, but if your print calls for a specific HSLA steel or a tighter gauge tolerance, the material cost could jump 15-30%.
I dodged a bullet on this one last year. I almost approved a quote for an aluminum extrusion part based on a verbally agreed price. Before signing, I checked the written quote closely. Their assumed material was 6061-T6. Our print called for 6061-T6 but with a different temper specification that costs about 12% more. The vendor hadn't caught it in their initial review. If I hadn't checked, we'd have gotten a surprise upcharge 4 weeks into production.
So glad I put a line in our RFQ template that says: "Vendor must confirm they have reviewed the material spec and thickness tolerance on the print. Any discrepancy must be flagged before quoting." It's saved us a ton of time.
Step 4: Ask About Minimum Order Quantities and Batch Sizes
This is the step that most people forget. It's not just about the per-part price or the tooling cost. It's about how many parts you have to order at a time, and how that affects your inventory cost and cash flow.
One of my biggest regrets is not asking this earlier in my career. I once signed a contract for CNC machined parts with a vendor whose MOQ was 5,000 units per order. Our annual demand was 8,000 units. That meant we had to either order once a year (tying up $45,000 in inventory) or pay a $0.25 per-part premium for a smaller batch of 2,000 units. The "cheap" unit price suddenly wasn't so cheap when you added the carrying cost of inventory.
So here's the checklist point: get their batch pricing for different order quantities. A vendor who can do flexible batch sizes—even with a slightly higher unit price—might actually save you money on total landed cost.
One More Thing: Watch Out for Rushed Quotes
I usually get quotes from at least 3 vendors for any new part. But sometimes, you're in a rush. A project timeline shifts, and you need a quote tomorrow. In those situations, vendors often quote at their "standard" pricing, which tends to include a buffer for uncertainty. If you can afford to wait two weeks for a thorough quote, you'll probably get a better price.
But that's a judgment call. In my experience, a rushed quote from a transparent vendor is still better than a cheap quote from a vendor who hides costs.

Jane Smith
I’m Jane Smith, a senior content writer with over 15 years of experience in the packaging and printing industry. I specialize in writing about the latest trends, technologies, and best practices in packaging design, sustainability, and printing techniques. My goal is to help businesses understand complex printing processes and design solutions that enhance both product packaging and brand visibility.
Leave a sourcing comment